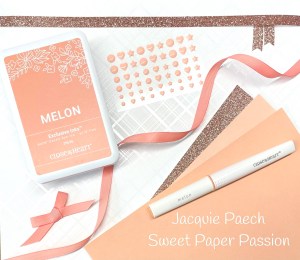

All throughout January I shared the beautiful Chelsea Gardens Collection and one of the the cutest cards the girls made, at my classes and gathering, was this Z-Fold card.
I’ve had a lot of requests on how I made this gorgeous Chelsea Gardens Z-Fold card,
below is my step by step guide, give it a go. It is fun and easy to make.
…I’m warning you now, once you’ve made one you will want to make more!

Z Fold Card Base:
White Daisy Cardstock 4” x 12” score and fold at 3” and 6“
White Daisy Cardstock 1 ¼” x 12” score and fold at 3”and 6”
To decorate card:
1 x Glacier Cardstock 3 ¾” x 5 ¾”
2 x Glacier Cardstock 2 ¾” x 3 ¾”
3 x B&T Glacier & White Stripe 2 ½” x 3 ½”
1 x B&T Floral 1” x 12”

NOTE: Decorate card base before you add Z Fold Strip.
Add Glacier Cardstock to base of card.
Add B&T Glacier & White Stripe on top of Glacier Cardstock.
Add B&T Floral to White Daisy Strip, score and fold at 3”& 6”.
Add this Z strip to card as shown.
Stamp “just for you’ onto a small piece of White Daisy Cardstock. Dovetail right side.
Dovetail a matching piece of Glacier Cardstock to match title.
Adhere both of these to front of card as shown, on a slight angle.
Embellish with Daisy Flower and Chelsea Gardens Dot.
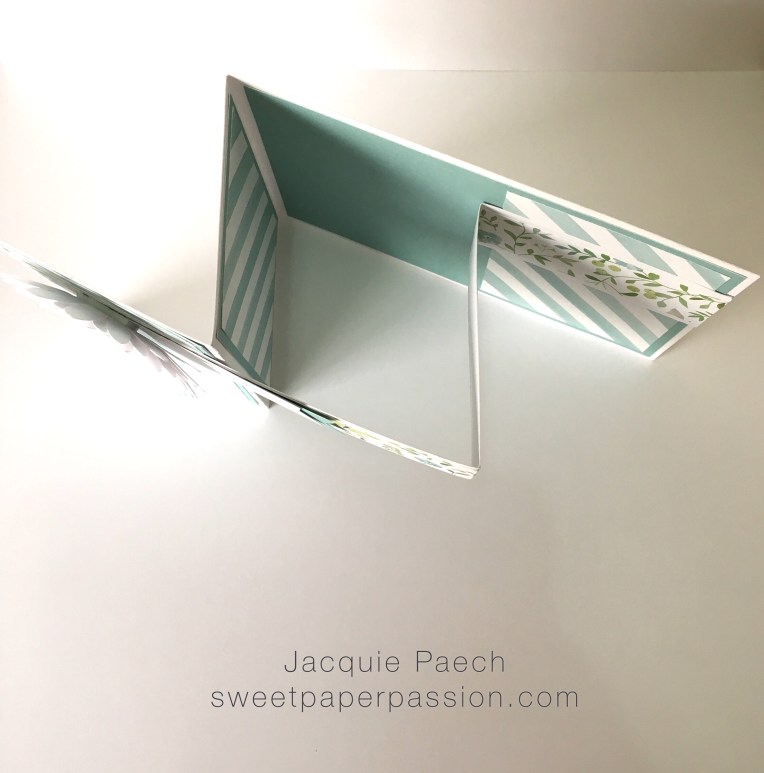 Here’s a birds eye view of how to adhere the Z-Fold.
Way fun to make – I know you’ll want to make more AND I know you’re already thinking about all the different designs you can make yourself!
Enjoy creating your own Z-Fold card.
Jacquie x

Thank you my lovely friend xx
Sent from my iPhone
>
LikeLike
I might have to ‘borrow’ this idea as it is gorgeous!!!
Kylie McLoughlin
Ph: 0417 844 240
Independent Close To My Heart Consultant
http://www.creatingwithkylie.ctmh.com.au
Sent from my iPad
LikeLike